

Our little half-bath renovation was one of the most fun rooms we’ve done in this house. It’s such a small space; you have to get creative on how to make things work. But you also get to be a little more daring and have a little more fun since it won’t be heavily used.

I started with demolition, taking out the mirror, countertop, flooring & toilet. I initially wanted to keep the pink tiles, but I realized as soon as I took down the mirror there were no tiles underneath it. That would be a massive headache for me, as I wanted to change the mirror and make it smaller. So I changed my mind about keeping the tiles; as sad as it made me, I did not want to keep going without tiles behind the mirror.
So as I began to remove the tiles, the glue was still sticking out far, just about as far as the tiles were, and they weren’t coming off as easy as I had hoped. I was planning to cover the glue with beadboard, so why am I putting in all this work to gain a 1/16 inch. Plus, the tiles were plastic, which meant I could brad nail right into them, and it wouldn’t affect anything. So I decided not to remove any more tiles and continued with the demo.

Max cut all the beadboard for me, and he and I brad nailed it up. It wasn’t too bad, and Max’s cuts were impeccable. We went up about 6 ft, and I trimmed out the top with some fancy trim I found at Home Depot. Then the most crucial part of most projects is caulking and wood filling. Don’t ever skip this part; it truly makes or breaks a project.
I decided to paint everything the same color: Sedona Pink by BEHR. I had to in remembrance of the pink tiles that I, unfortunately, couldn’t save! It’s a beautiful pink. I’m so happy with the color. I honestly usually don’t even test colors; I just go for it from something I’ve seen on social media. So I’m happy I picked one all on my own, haha.
After painting everything pink, I stenciled the top portion of the wall with a stencil I got off Amazon (it’s on the shop page!). I didn’t realize until a couple of days later, but I had used the stencil upside according to the listing on Amazon. The cranes are supposed to be flying up, but mine are flying down. It makes it look more like a fan, and I kind of like it better! I used leftover Alabaster by Sherwin Williams and a kitchen sponge! I couldn’t find my stencil brush, but it ended up being a blessing in disguise! It gave it such a cool texture, and I didn’t have any issues with bleeding.
I picked out white penny tiles for the floor, but I wanted it to be a little more unique. So I found some pink penny tiles on Houzz.com and decided I would do a pink border! I had never done something like this, so I was a little nervous, but I was so excited at the same time. I could just see everything coming together in my head, and it was going to be so good!
I laid a Schluter membrane right over the existing wood floors to try to waterproof it a bit. I laid the membrane, using thin-set on the bottom and laying the membrane over the top, squishing out any extra out of the seams. I did not want to add a concrete board or any other waterproofing to heighten the floors because the flooring would be much higher than the wood floors in Sutton’s room. We considered ripping out the existing hardwoods, but Max had replaced some of the floorings with plywood at one time, and we didn’t want to mess with that. The membrane was the best option for us, even though it’s not recommended to use this small tile.
Then, I laid the tile. I tried to lay it all out first in the bathroom itself before using thin-set, so I could get an idea of the layout and wouldn’t be scrambling as I was laying the tiles, trying to figure out where I wanted the border and such. It didn’t work as well as I had hoped, but I’m happy I did because I ended up needing to bring the edge in 3 tiles, so it was able to be seen once the baseboards were in place. It was honestly hell on earth, laying those tiny tiles and trying to figure out that damn border, but so dang worth it. I used a white premixed grout from Bostik the next day. I ended up using close to a full bucket. I enjoy grouting floors; it is relaxing to me. The cleaning part is a little stressful, as I’m just nervous about missing a spot because the grout is near impossible to get off once it dries completely. This grout does not require a sealer, so the floors were done after I grouted!

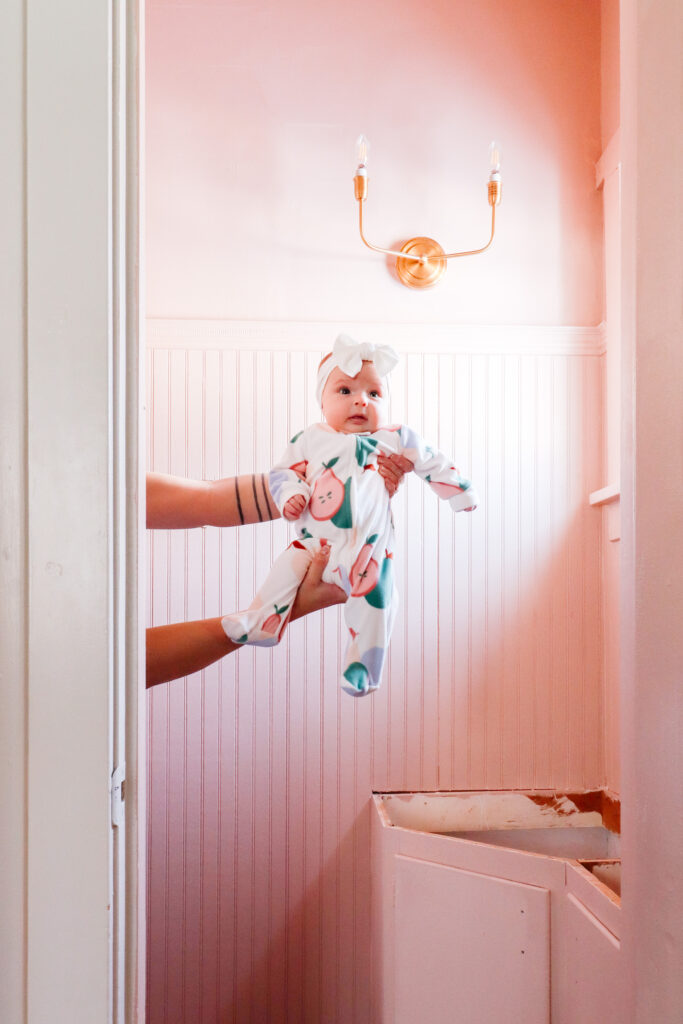
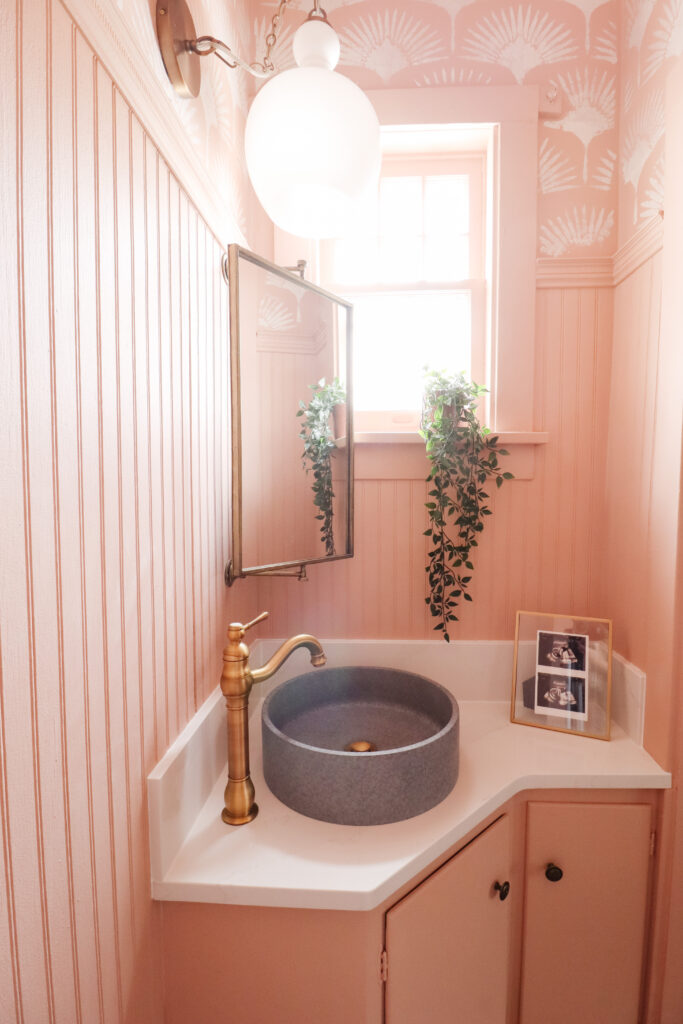
I changed with light to a hanging light with a swag. That way, I didn’t need to move the electrical box, and it could be centered in the corner, which would be impossible for nearly any other type of lighting. Then I found an amazingly cool corner mirror that would also be centered in the corner. I was so relieved to find these two things because I initially felt discouraged that it wouldn’t turn out as good as I wanted without those two things being centered in the corner. WIN!
Then, I did some finishing touches while I was waiting on a countertop. I chose the same baseboards as the rest of the house: 1×8 pine and painted them the same color. I added leftover antique gold hardware to the vanity. Then Max set the toilet. The only thing left was the countertop & sink!
I decided to get a remnant of quartz from one of my parents’ retailers in Omaha. I went to Stone Concepts and picked out a Calacatta Gold quartz remnant. They came and templated the bathroom and made THE perfect piece for the funky-shaped vanity. After two weeks of patiently waiting, they installed it, and it couldn’t have been more perfect. When the guys were done, I added the finishing touches, including a concrete-style vessel sink and a traditional gold faucet. IT WAS PERFECT. I love everything about it, and I’m so proud. Check out the reveal reel!

Technically the sink isn’t hooked up yet, and the toilet needs new screws, but close enough! HAHA. I’m also looking for a different piece of vintage art, but I haven’t found the right one quite yet, but I’m always on the lookout!
What’s your favorite part? Mine is the light!
Check out the bath reveal video below!