
with the Home Depot
After nearly 10 months in this house, we finally decided to give our stairway and upstairs hall the long overdo makeover it needed. It required only paint, a stair runner, and decor, and it feels like a brand new (OLD) place! Finally, I don’t have to wear shoes when we go to bed!


This first thing I did was patch, sand, and prime the walls from any cracks from settling over the years. It’s not a super difficult task but it is pretty time consuming from waiting for the joint compound to dry, to the multiple coats, and then priming. But once I finally had that finished, it was time to paint!

I was deciding between four green colors from Glidden: Obligation, Black Spruce, Evergreen Boughs, and Pine Forest. I was planning to use some wallpaper in the stairway that I was trying to coordinate with the color, as well as going well with the new runners we were adding. After going back and forth for a bit, I decided to go with the color Evergreen Boughs. It seemed like the perfect darker green that wasn’t too overpowering. I also thought it would go really well with our existing wood trim.
I got two gallons of Glidden Diamond Evergreen Boughs in an eggshell sheen. I ended up doing two coats in the hallway and the stairway, which is where I was originally going to hang the wallpaper. This color was just too prefect and I wasn’t really sold on the wallpaper.
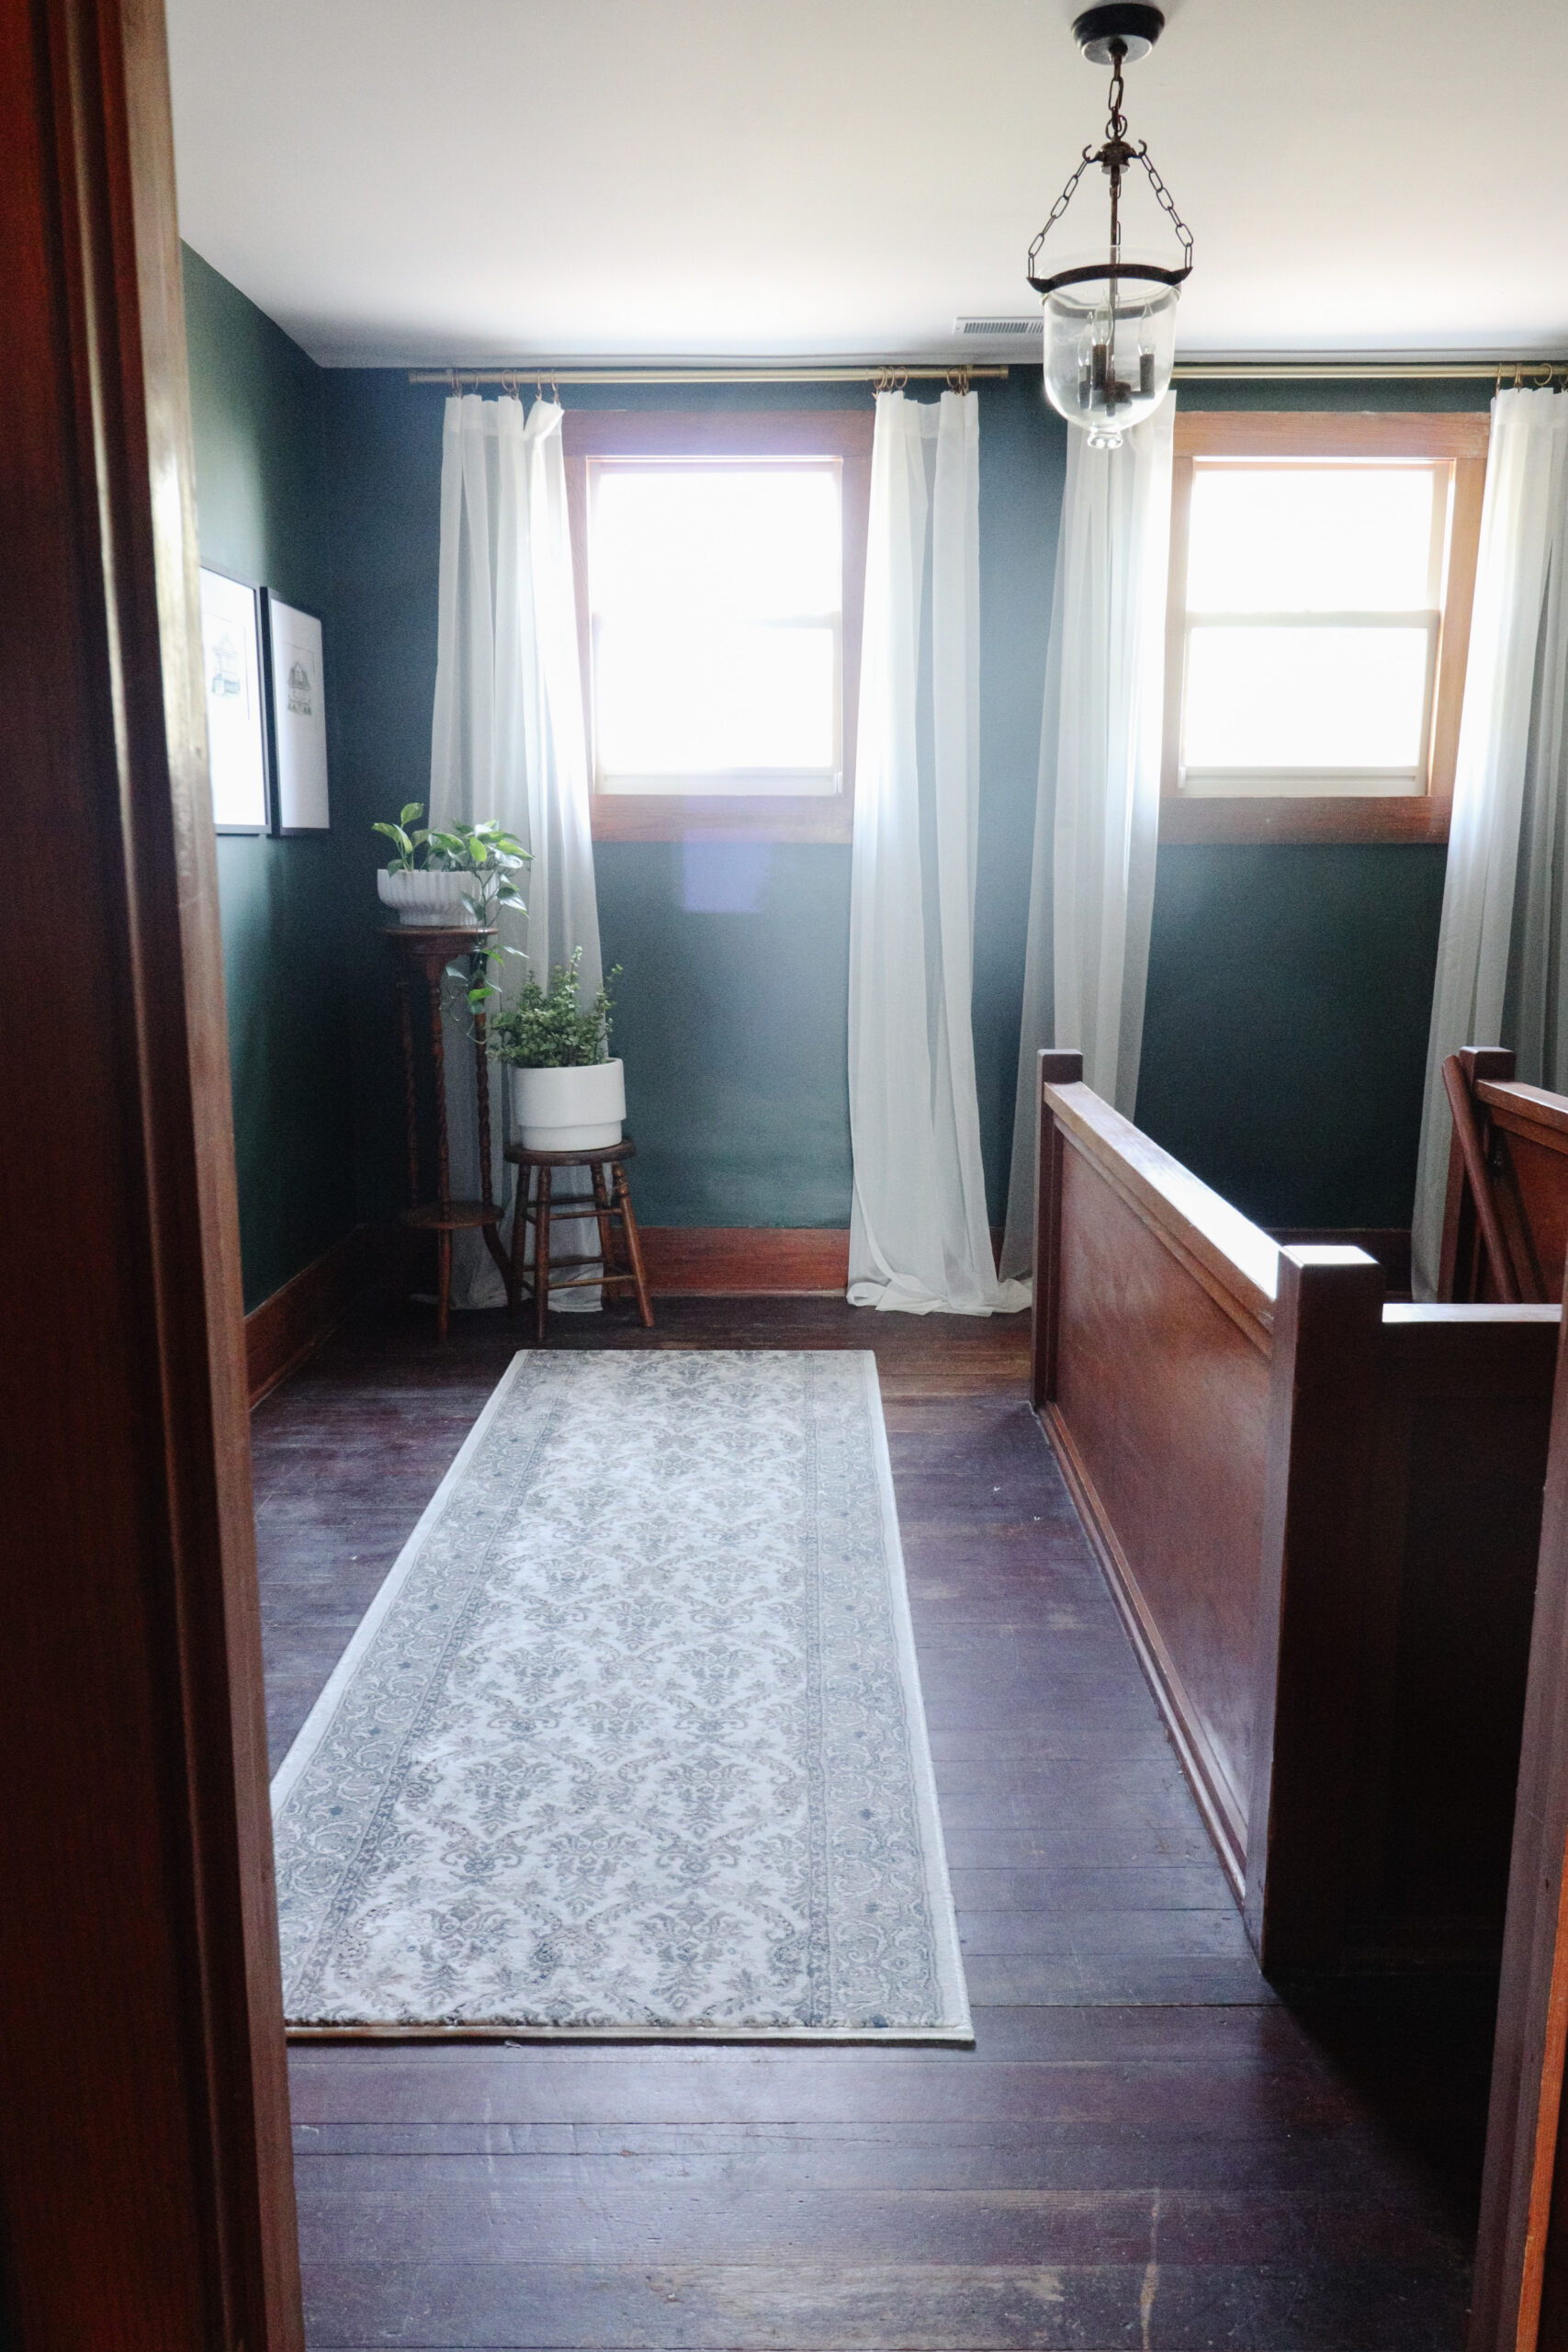
After everything got a fresh coat of paint, it was time for the stair runner! This was the most exciting part for me because our stairs are so steep and in rough shape, I didn’t really feel comfortable letting Sutton even go up them. With the new runner, I can have the peace of mind to let her go up and down them, of course, with me very close behind. I chose a runner from the Home Depot that was custom length, so I was able to get exactly how much I needed. I got the 26 inch for the stairway, and then I actually got two of the 36 inchers for the halls upstairs so that everything would match perfectly! Plus our floors are actually in very rough shape up there, so it’s the perfect for hiding them a bit as well! The runner is gorgeous with cream, gray/greens, and beiges that really compliment the paint color and lighten up the dark floors.

We rented our tools from the Home Depot, watched a quick 5 minute tutorial on the Home Depot’s YouTube channel and then we got to work. In addition to the runner, we also got a remnant of carpet pad from my parents store so the runner would wear better and last longer, especially with them being so steep.
We started by marking the middle of each tread, which in our case, each tread was 32 inches, so the middle was at 16″. Then from there, we marked with blue tape where the outside of the runner would go. Our runner is 26″, so we marked 13 inches on each side of that middle line we just made. This is to ensure the riser is straight while you’re laying it.


After the marks we made, Max cut 13 pieces of pad, 3 inches longer than the tread depth, to cover the nose.Then he cut the front corners at a 45 degree angle so they would lay nice and tight over the tread in the front. Using a carpet stapler, we laid these out and stapled them with 6 stapes total, three in the back about 1 half inch from the back, and 3 on the underside of the tread nose.

Then it was time for the runner itself. We decided to start at the bottom but they say you can do either way. I first put some double sided tape at the bottom where the runner would begin to hold it in place while we stapled it. We got it into place and made sure we were within our tape lines and everything was straight, Then we stapled, starting in the middle and every 3 inches after that. Then using the carpet tucking tool, we made a nice crease under the first tread nose at the top of the riser. once we felt like it was tight and nicely creased, I started to staple, while max used the tucking tool to make sure things were tight, again starting fun the middle and then every 3 inches to left and right.
Then onto the tread. Max used the knee carpet stretcher to pull the runner tight while I stapled the runner in the back crevasse. We repeated this process 12 more times until we reached the top, making sure periodically that we are even and straight and between our tape lines. Once we reached the top, Max marked the underside of the top trad nose by cutting two small slits into the sedges of the runner. Then folding it over, marked a straight line and finished the cut. Then stapling the last pieces into place at the top.

After finishing the runner, I decided to take it one step further by adding a decorative brass rod to each step. It was not necessary by any means, but I love the character it adds to the stairway.


Now you tell me…what do you think? Do you like runners on stairs or prefer them to be bare? Could you ever see yourself tacking this diy or have you already?! Check out the reveal video on my instagram page HERE!